
Venicera
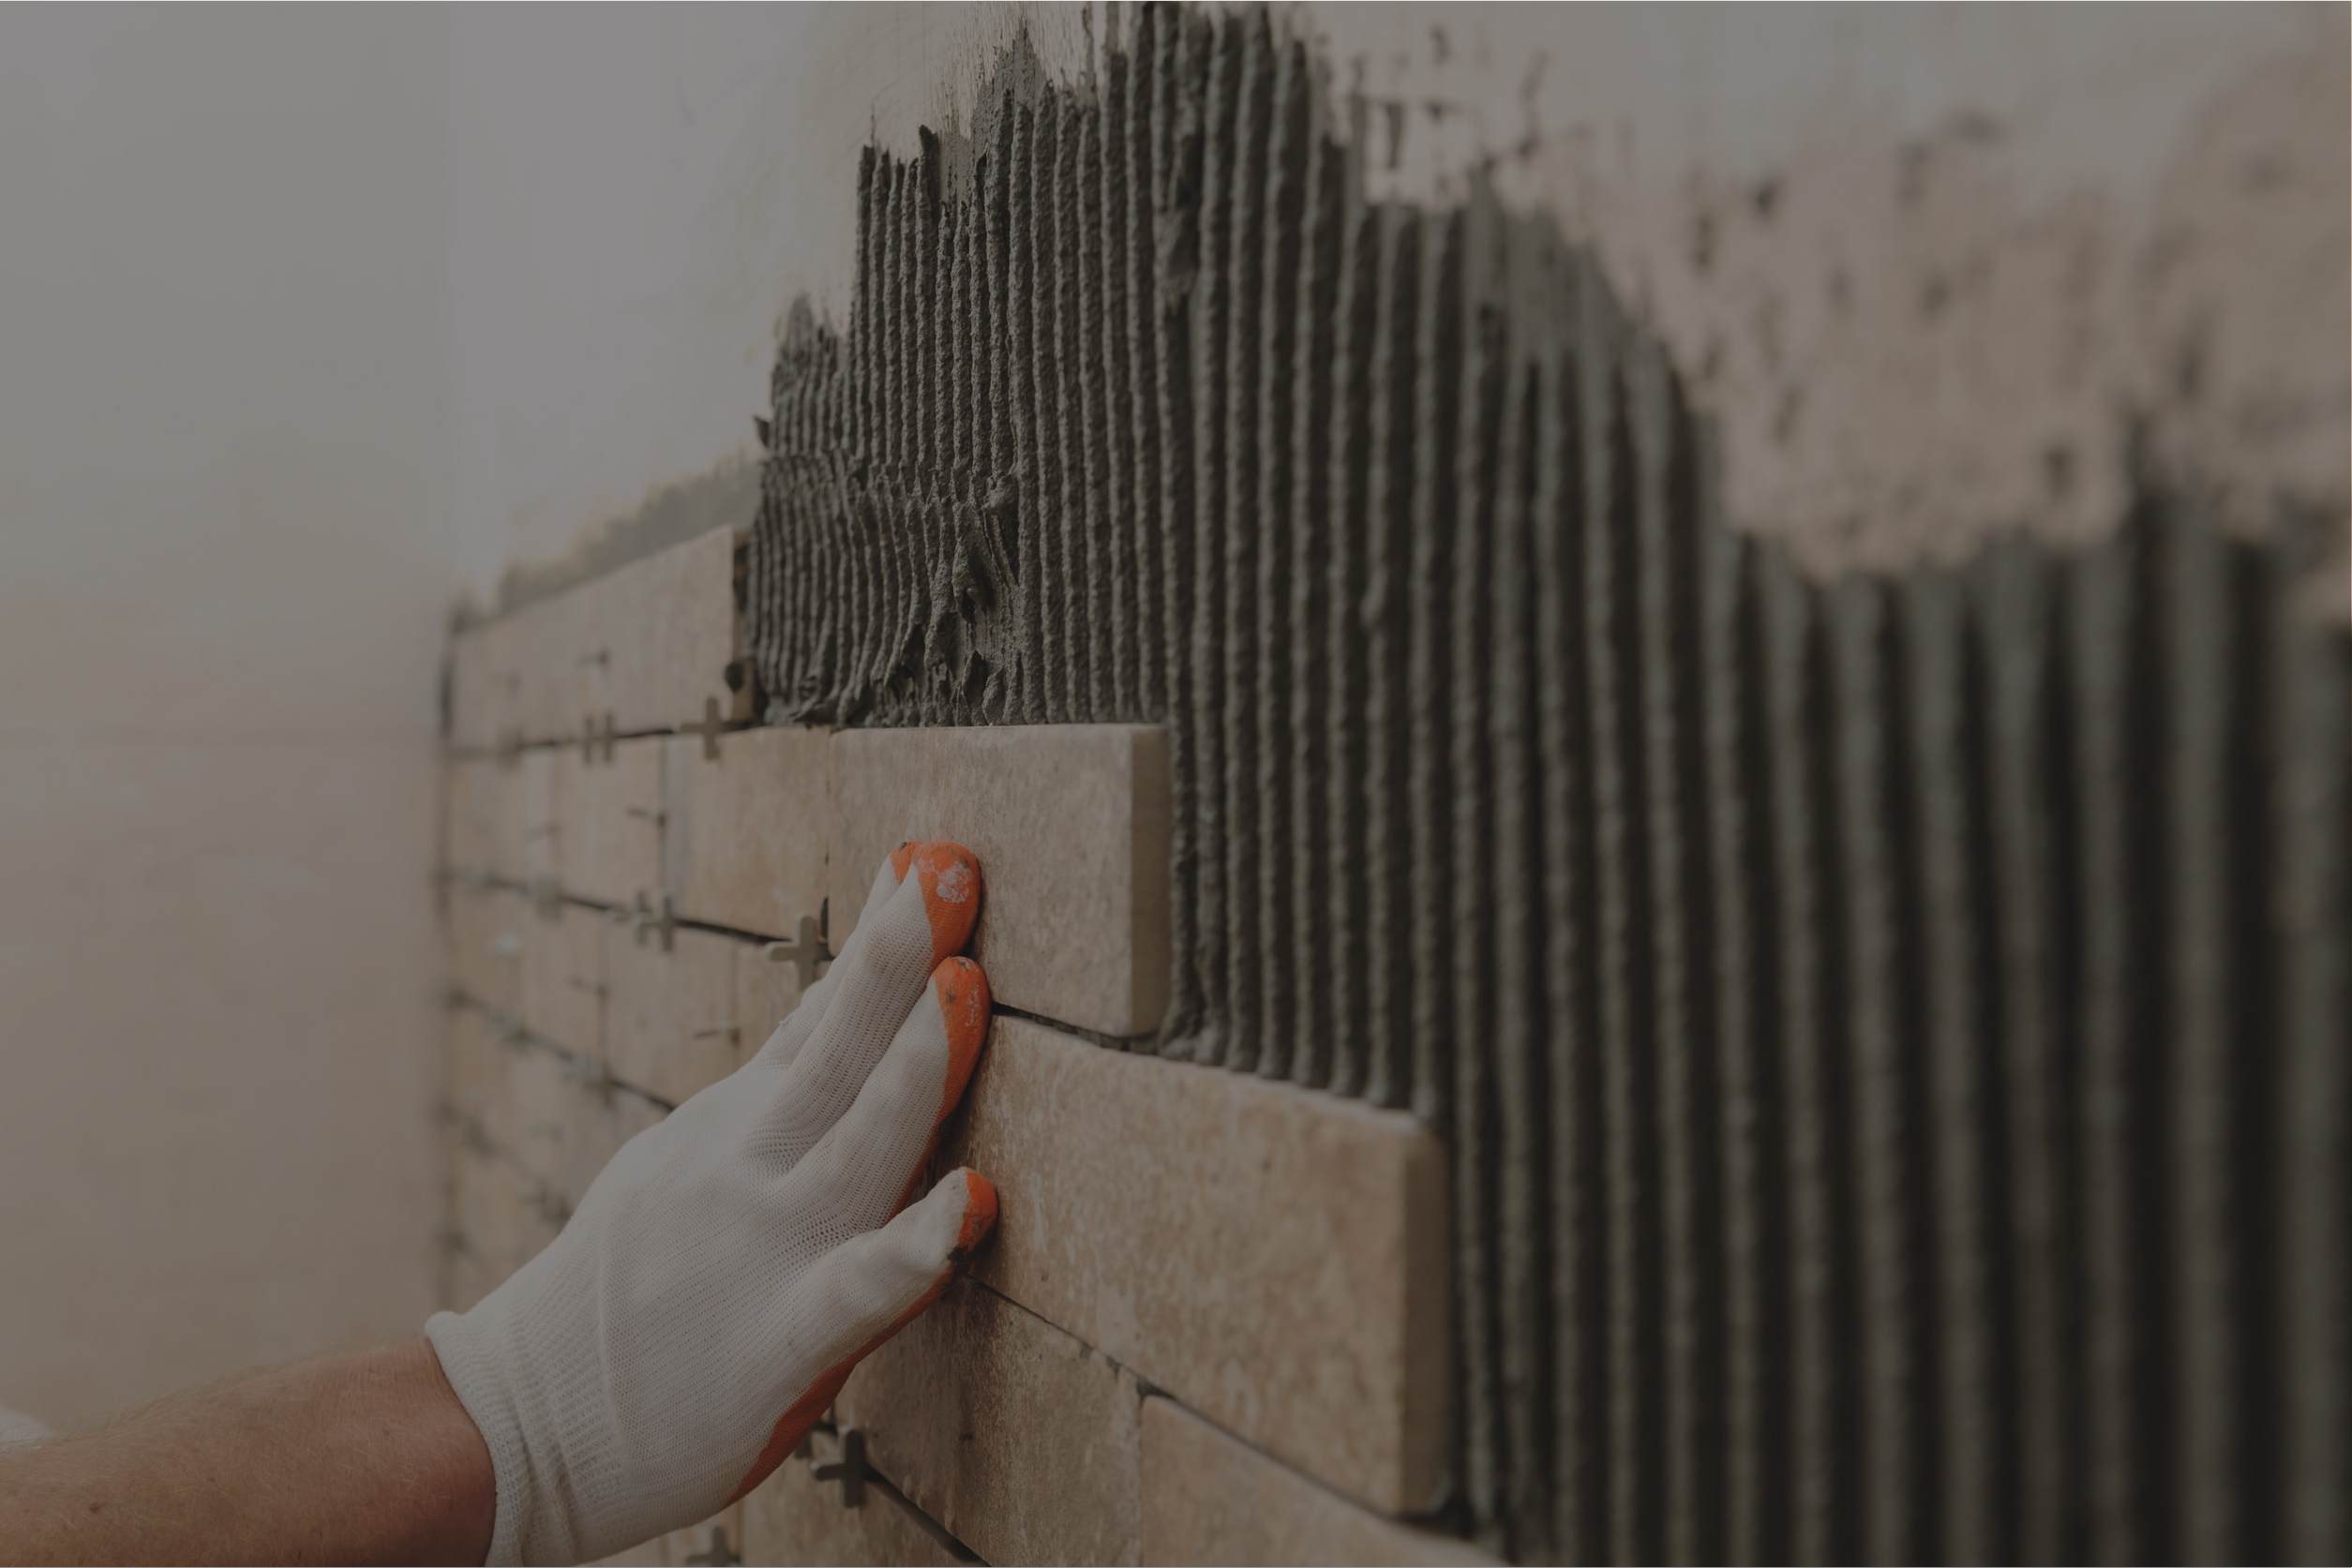
Tile bed being prepared on a wall
Guide

Installation

The tile is the last layer. The layers under it decide whether it stays.

Plan the whole build-up before anyone mixes a bag: the support, the movement joints, and the binder that matches the body of the tile. A careful drawing still fails if the bed is the wrong one.

Once that is settled, the work on site is a short sequence. Skip a step, or rush the open time, and the usual defects follow — hollow spots, lippage, stained joints, tiles that release.

Two methods

Match the bed to the porosity.

Porcelain

Thin bed, high-performance adhesive

Fully vitrified porcelain barely absorbs water, so a conventional cement bed has little to key into. Specify an improved adhesive to EN 12004 or ISO 13007-1, with a minimum bond of 1 N/mm². Naming “adhesive” on the drawing is not enough — the class has to be the right one, or the tile still lets go.

Porous ceramic

Thick cement-mortar bed

Ceramic that takes up water can be laid in a thick cement-sand mortar. An adhesive bed is also acceptable, and usually costs more. If the ceramic is going into a wet or heavily trafficked room, confirm the method with the project team before the screed is poured.

On site

The sequence, in order.

  1. 01

    Prepare the support

    Clean, sound, and flat enough for an even bed.

  2. 02

    Mix the binder

    Mortar for porous ceramic. Improved adhesive for porcelain.

  3. 03

    Lay the bed

    Compact a thick bed, or comb a thin one with a notched trowel.

  4. 04

    Set the tile

    Press, check full contact, and keep the joint open.

  5. 05

    Seal the joints

    Fill completely. Colour the grout to the tile, or specify epoxy where the room demands it.

  6. 06

    Clean, then wait

    Remove residue while it is fresh. Do not load the floor until the bed has cured.

01 — Support

Nothing bonds to dust.

The support must be clean of dust, paint flakes, grease, oil, and anything that lifts with a fingernail. Sweeping is rarely enough. Wash it.

It also has to be flat. An uneven screed forces the adhesive thicker in some places than others, and that difference becomes stress as the bed cures. Floors that will take trolleys or vehicles need a rigid support, reinforced where the load requires a distribution layer.

Judge the finished work on two things only: how firmly the tile is held, and how regular the joints are.

Thick bed

Cement mortar, for porous ceramic.

  • Wet the support with clean water first, so it does not pull the water the mortar needs to set.
  • Soak porous tiles before laying. Place them on a bed no thinner than 20–30 mm, compacted and struck level so the bed has no cavities.
  • Use clean, graded sand and clean water. Clay, organics, or soluble salts in the mix are a common cause of efflorescence.
  • Keep joints at least 2 mm. Press the tile in, but do not force mortar up onto the face.
  • On a wall, start from a straight temporary batten at floor level so the first course is actually level.
Thin bed

Adhesive, for porcelain.

  • Mix powder adhesives to the stated water dose, with a mixer, until the paste is even. Two-part products need the same care. Ready-mixed adhesive only needs a trowel to bring it back together.
  • Comb it with the notch the manufacturer specifies. Work small areas. Open time is often 20–30 minutes. After the tile is down, you usually have about 10 minutes to adjust it.
  • Press so the ridges collapse and the back is fully covered. Lift one tile immediately and look. If the back is not coated, the bed is wrong.
  • Outdoors, or anywhere the stress is severe, butter the back of the tile as well as the support.
  • Tap the field level. A tile set after the open time, or left with voids, will fail later even if the adhesive was the correct class.

The bond

The tile must hold to the bed, the bed must hold to the support, and the bed itself must stay cohesive. A hollow sound is a gap, not a finish.

The joint

Joints should be regular, full, and even in colour. That is what keeps the field looking deliberate, and what lets the surface move.

Joints and cleaning

Fill the joint. Then take the haze off.

Cement grout, tinted toward the tile, is the usual joint. Latex, acrylic, and epoxy grouts exist for rooms that need them — pools, kitchens, chemical exposure. Pack the joint full with a rubber float. Do not smear it and call it filled.

Clean while the grout is still fresh, with a damp sponge, without dragging material back out of the joint. A later rinse can lift cement haze. Mild diluted acid is sometimes used for that haze, and it will etch a polished porcelain face. Know the surface before anyone opens a bottle. Neutral cleaner is the safe default.

Before traffic

A finished floor is not a usable floor.

The bed still has to cure. Follow the adhesive manufacturer’s waiting time. Where the bed is cement mortar, allow at least 20 days before normal use. Loading it early is how a correct installation becomes a defect.